Bref, j'ai supprimé gitlab-ci.yml!
« — Super : une mise à jour Android API 31, au top! Ça doit être stable après 3 mois…
/> Exception in thread “main” java.lang.NoClassDefFoundError: javax/xml/bind/annotation/XmlSchema
— ^^
/> Caused by: java.lang.ClassNotFoundException: javax.xml.bind.annotation.XmlSchema
— Ah mince, le CI est cassé !
/> variables: JAVA_OPTS: “-XX:+IgnoreUnrecognizedVMOptions –add-modules java.xml.bind”
— Why not!
/> Unrecognized VM option ‘IgnoreUnrecognizedVMOptions –add-modules java.xml.bind’
— ^- Bref, j’ai supprimé gitlab-ci.yml!»
Mettre en place un GitLab CI sur un projet Android [AK 3 Outils Développeur·se]
Cet article explique comment mettre en place un fichier d’intégration continue, CI acronyme de Continuous Integration, sur un projet Android hébergé sur GitLab.
En particulier, il est présenté un fichier .gitlab-ci.yml, appliqué à un projet Android avec Kotllin.
Il convient pour l’API Android 31, la version de JAVA 11 (JDK-11), et pour le
dernier outils en ligne de commande Android.
Fichier .gitlab-ci.yml
À partir du fichier exemple fournit par GitLab[2], il s’agit de vérifier les variables de versions :
ANDROID_COMPILE_SDK: correspond àcompileSdkVersionde votre projet Android (ici 31)ANDROID_BUILD_TOOLS: correspond àbuildToolsVersion(31.0.0)ANDROID_CMDLINE_TOOLS: correspond à la dernière version du command line tool Android [5] (8092744_latest)
Par ailleurs, Android recommande l’utilisation de la variable ANDROID_SDK_ROOT
(ANDROID_SDK_HOME est déprécié).
Voici un exemple de fichier .gitlab-ci.yml [2] :
image: openjdk:11-jdk

variables:
  ANDROID_COMPILE_SDK: "30"
  ANDROID_BUILD_TOOLS: "30.0.3"
  ANDROID_SDK_TOOLS: "7583922"

before_script:
  - apt-get --quiet update --yes
  - apt-get --quiet install --yes wget tar unzip lib32stdc++6 lib32z1


  - export ANDROID_SDK_ROOT="${PWD}/android-home"
  # Create a new directory at specified location
  - install -d $ANDROID_SDK_ROOT

  - wget --output-document=$ANDROID_SDK_ROOT/cmdline-tools.zip https://dl.google.com/android/repository/commandlinetools-linux-${ANDROID_SDK_TOOLS}_latest.zip
  # move to the archive at ANDROID_SDK_ROOT
  - pushd $ANDROID_SDK_ROOT
  - unzip -d cmdline-tools cmdline-tools.zip
  - pushd cmdline-tools
  # since commandline tools version 7583922 the root folder is named "cmdline-tools" so we rename it if necessary
  - mv cmdline-tools tools || true
  - popd
  - popd
  - export PATH=$PATH:${ANDROID_SDK_ROOT}/cmdline-tools/tools/bin/

  # Nothing fancy here, just checking sdkManager version
  - sdkmanager --version

  # use yes to accept all licenses
  - yes | sdkmanager --licenses || true
  - sdkmanager "platforms;android-${ANDROID_COMPILE_SDK}"
  - sdkmanager "platform-tools"
  - sdkmanager "build-tools;${ANDROID_BUILD_TOOLS}"

  # Not necessary, but just for surity
  - chmod +x ./gradlew

# Basic android and gradle stuff
# Check linting
lintDebug:
  interruptible: true
  stage: build
  script:
    - ./gradlew -Pci --console=plain :app:lintDebug -PbuildDir=lint

# Make Project
assembleDebug:
  interruptible: true
  stage: build
  script:
    - ./gradlew assembleDebug
  artifacts:
    paths:
      - app/build/outputs/

# Run all tests, if any fails, interrupt the pipeline(fail it)
debugTests:
  interruptible: true
  stage: test
  script:
    - ./gradlew -Pci --console=plain :app:testDebug

### IN THE END EVERYTHING WILL BE OK
Aussi, l’image Docker d’inovex [10] fonctionne très bien :
image: inovex/gitlab-ci-android

stages:
- release

variables:
  GRADLE_OPTS: "-Dorg.gradle.daemon=false"

before_script:
- export GRADLE_USER_HOME=$(pwd)/.gradle
- chmod +x ./gradlew

cache:
  key: ${CI_PROJECT_ID}
  paths:
  - .gradle/

build:
    stage: release
    script:
        - ./gradlew clean assembleRelease
    artifacts:
        expire_in: 2 weeks
        paths:
            - app/build/outputs/apk/*.apk
    only:
        - develop
Variables de clé secrète
- Allez dans Settings > CI/CD > Variables, puis Expand
- Ajoutez une variable KEYS_XML avec pour valeurs vos clés secrètes, voici un exemple :
<?xml version="1.0" encoding="utf-8"?> <resources> <string name="base64_encoded_public_key" translatable="false">trucbidule</string> </resources> - Ajoutez les clés dans le fichier XML Android depuis .gitlab-ci.yml, dans la partie
before_script:- echo $KEYS_XML > ./app/src/main/res/values/keys.xml
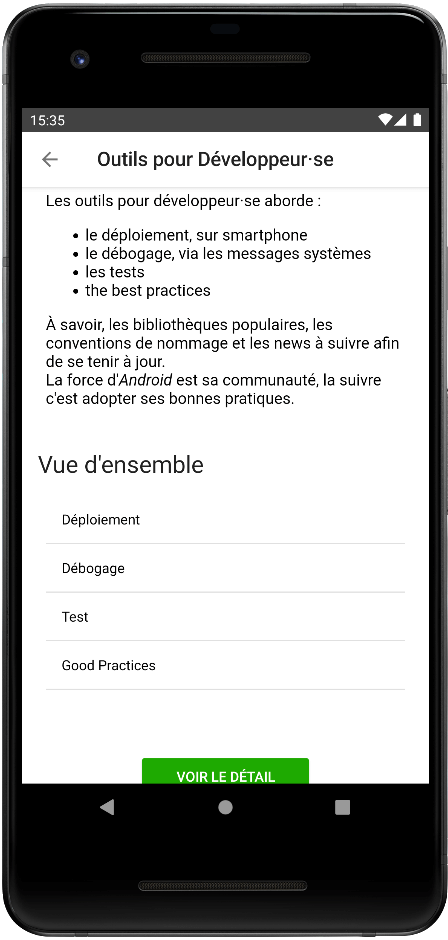
Mettre un CI sur un projet Android est une bonne pratique, retrouvez en d’autres dans le thème “Outils pour développeur·se” de l’app. “Kotlin pour Android : quiz”.

Finalement, cet article dévoile un fichier gitlab-ci.yml; pour les dernières versions d’Android et indique comment configurer des clés cachés.
Références :
- The ideotec blog: Android GitLab CI Pipeline in 2020
- GitLab: Setting up GitLab CI for Android projects
- GitLab: How to publish Android apps to the Google Play Store with GitLab and fastlane
- GitLab: Gitlab CI CD documentation
- developer.android: Android Studio command line tools
- developer.android: Environment variables
- Google Issue Tracker: About jdk 11 and sdk manager
- stackoverflow: Travis CI example
- stackoverflow: JABX Dependencies
- Inovex: docker img
Partagez ou réagissez sur Twitter.
Vous avez trouvé une erreur ou voulez améliorer cet article ? Editez le directement !

